Introduction
In this quick guide, we’ll demonstrate how to utilize HeavySet Tech to embed a fully functional contact form on your website easily. This enables manageable communication with your visitors, as each message sent via the form is tracked and reported back to you (an email notification is dispatched to your inbox). This guide presupposes that you are familiar with the basic setup, as outlined in Steps 1-3 of our Getting Started Tutorial.
Step 1: New Config
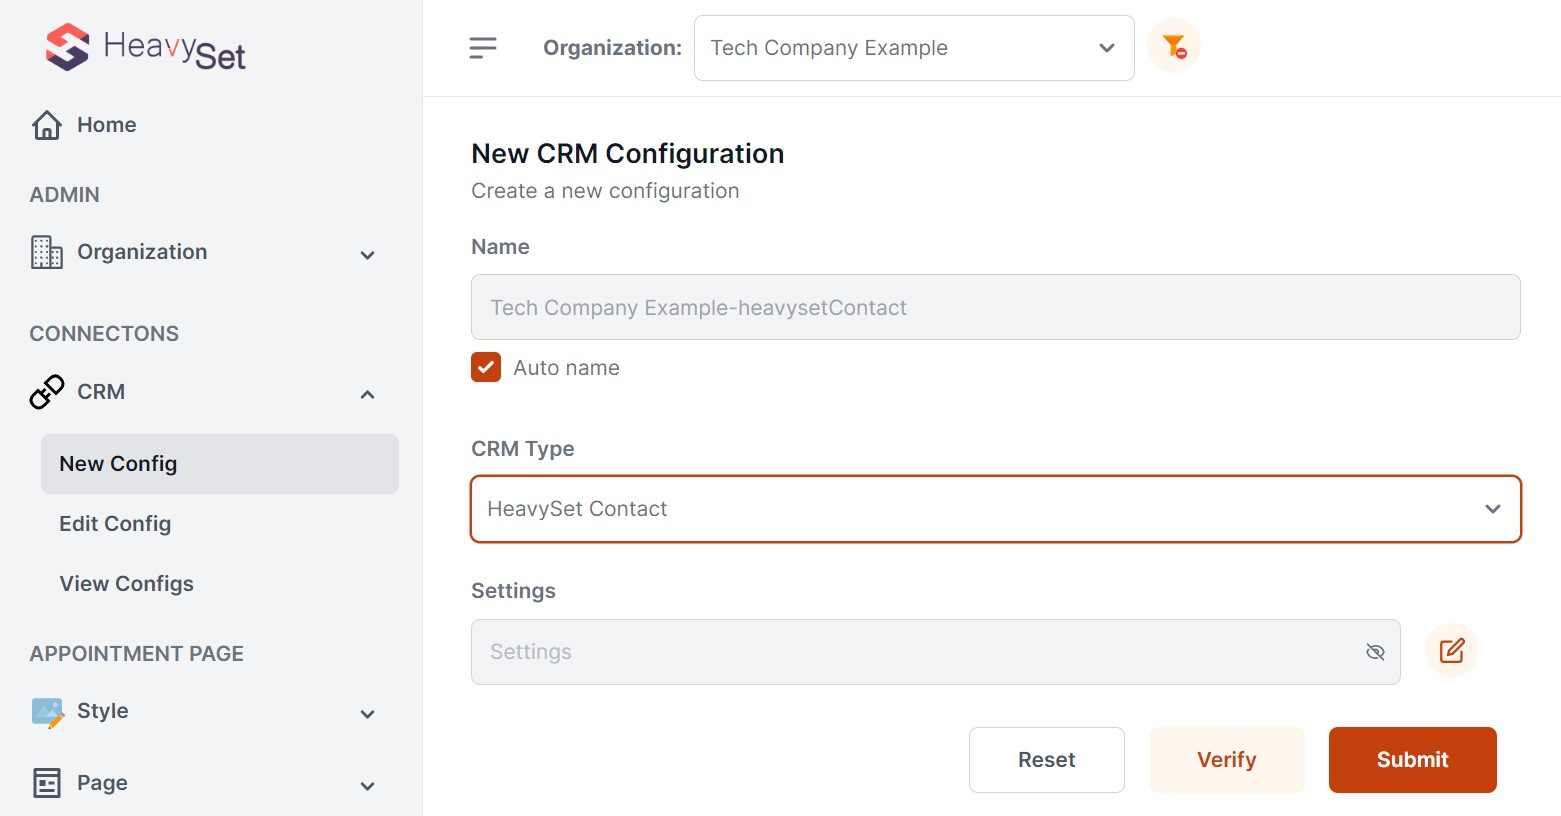
After logging into the HeavySet Tech admin website, navigate to "Connections" -> "CRM" and select "New Config". Choose "HeavySet Contact" from the "CRM Type" dropdown.
Step 2: Configure Notification Email
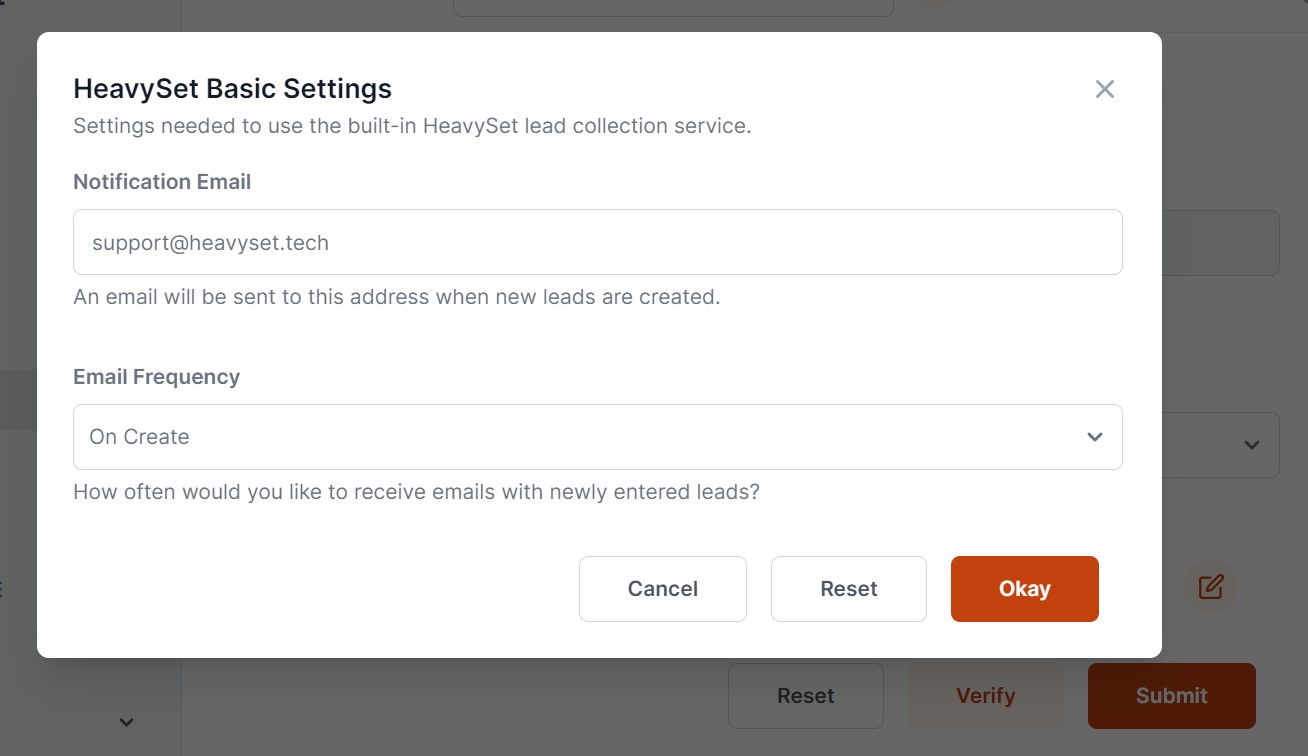
Click the edit icon adjacent to the "Settings" input box.  Input the email address where you’d like to receive messages and choose an option under "Email Frequency". Click “Okay” and then click “Submit” to save the configuration.
Step 3: New Style
Head over to the 'New Style' option found under 'APPOINTMENT PAGE' -> 'Style' in the menu. Here, you'll need to select or create a contact from the 'Contact Details' dropdown. Even though this contact won’t be used for the contact form, it’s still a required step.

Step 4: Customize Page Text
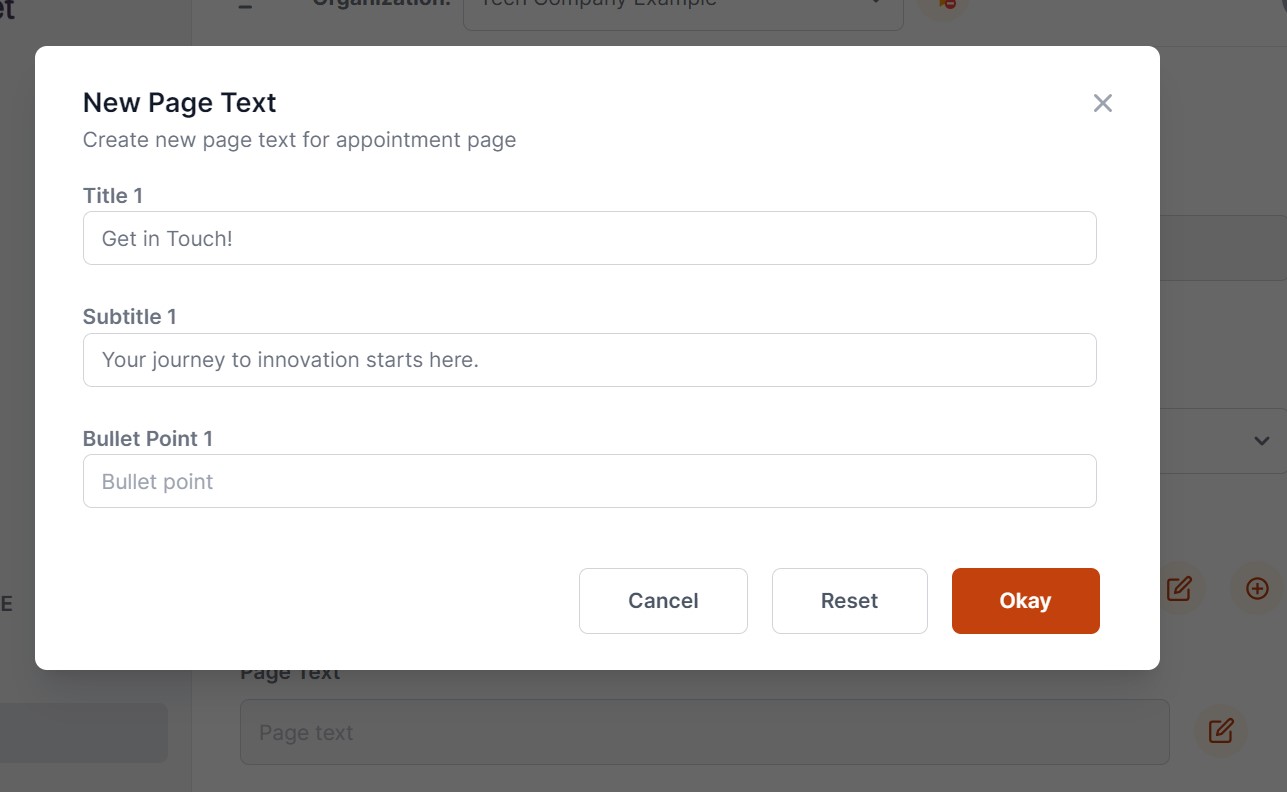
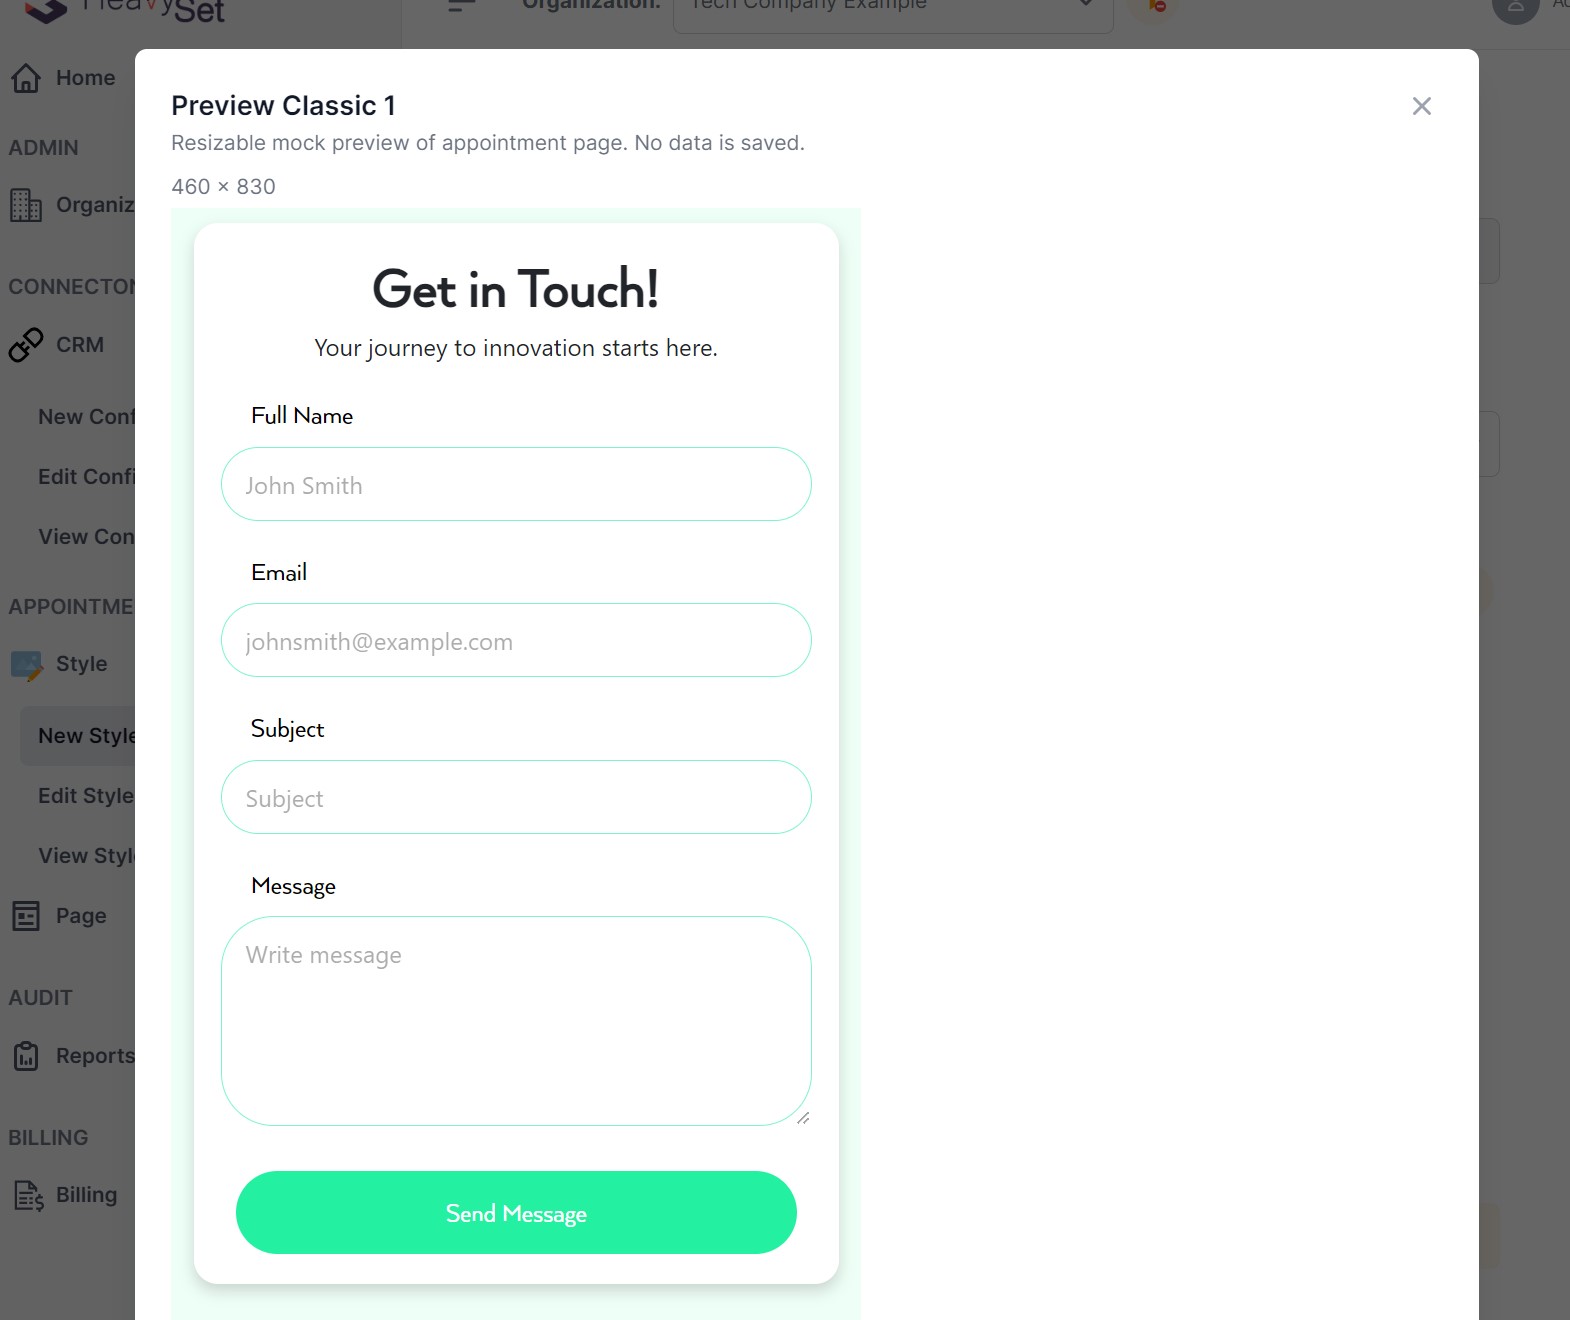
Let's make your page engaging! Click on the "Page Text" edit box. Here, you'll add a title and subtitle to welcome your visitors. For example, we used "Get in Touch!" as the title and "Your journey to innovation starts here" as the subtitle. After entering your text, hit "Okay." Remember to stay on the page, we’re not done yet!
Step 5: Choose Your Colors
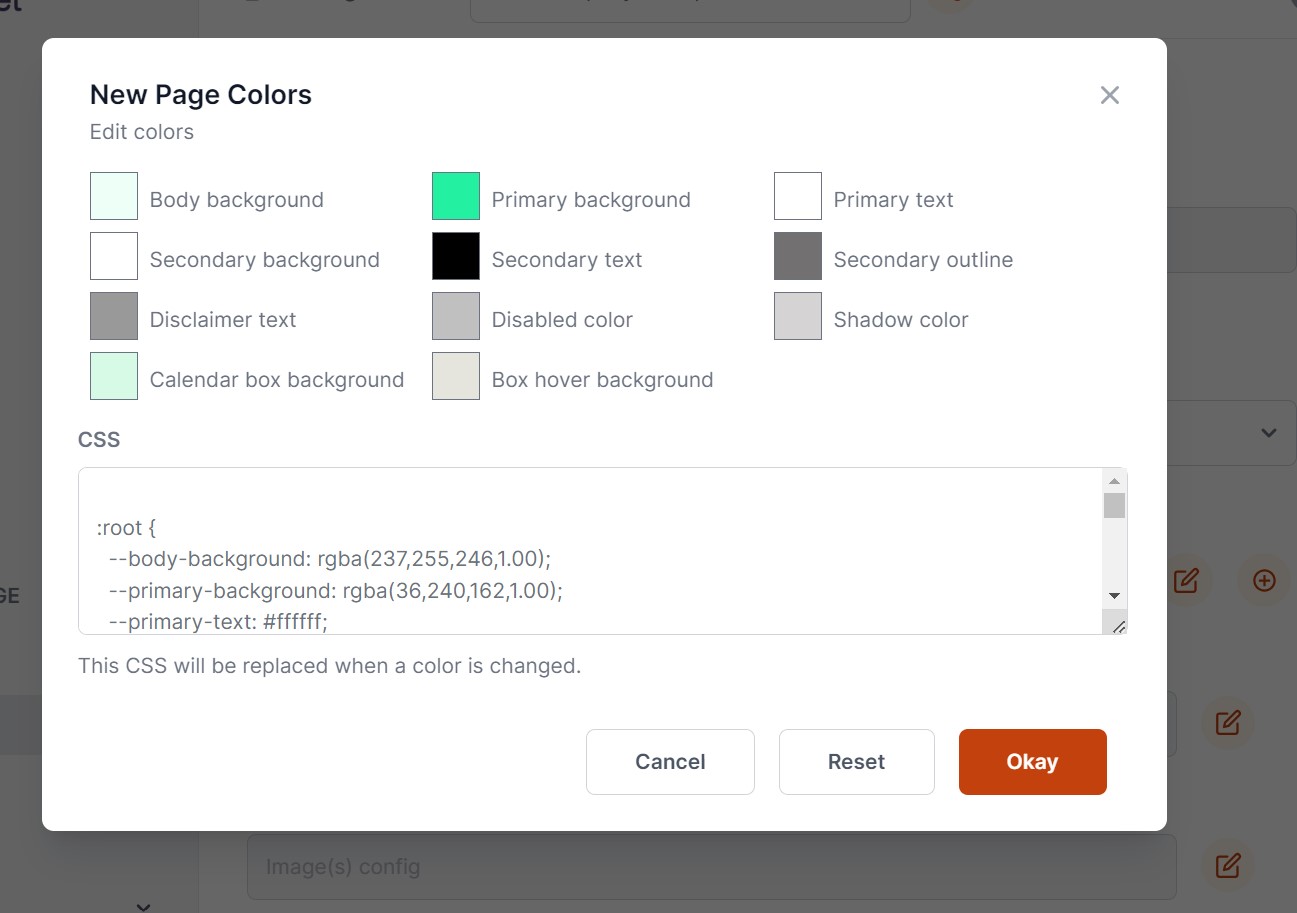
Let’s add some life to your page with colors. Click the edit icon beside "Page Colors". To get started, focus on three main areas: "Body Background", "Primary Background", and "Calendar Box Background". Pick the colors that best fit your website's style, then click “Okay”.
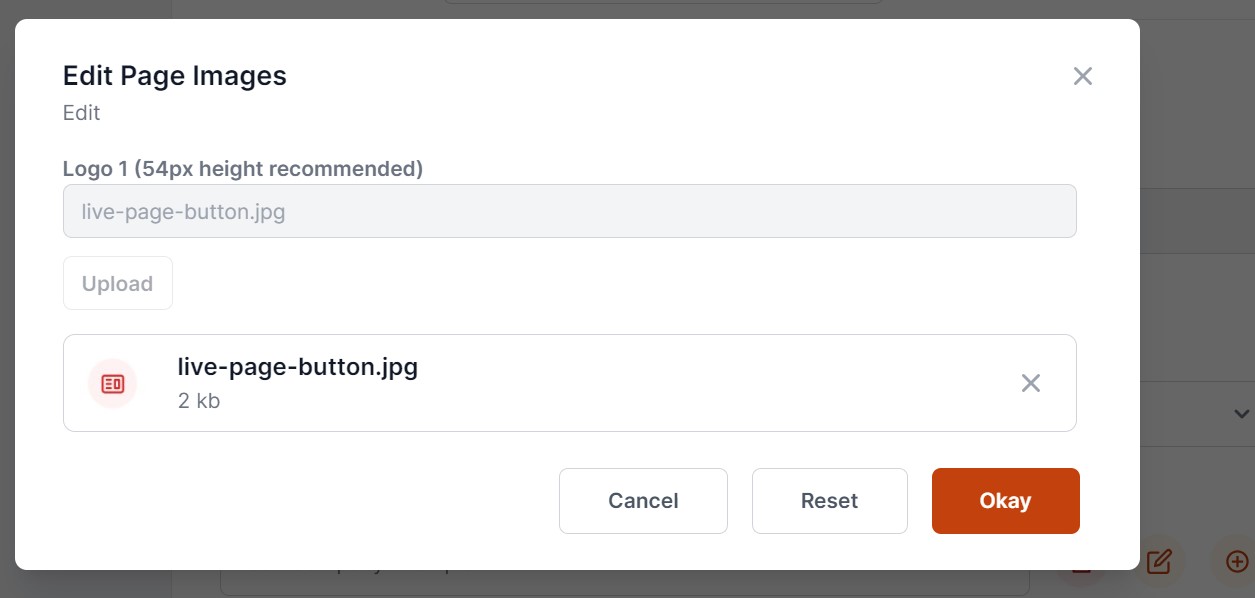
Step 6: Upload Your Logo
Let’s personalize your contact form! After visitors submit the form, your logo will be the seal of assurance that their message has been sent. To add your logo, simply click the edit icon next to "Page Image(s)". Select your logo file and then hit "Okay" to confirm.
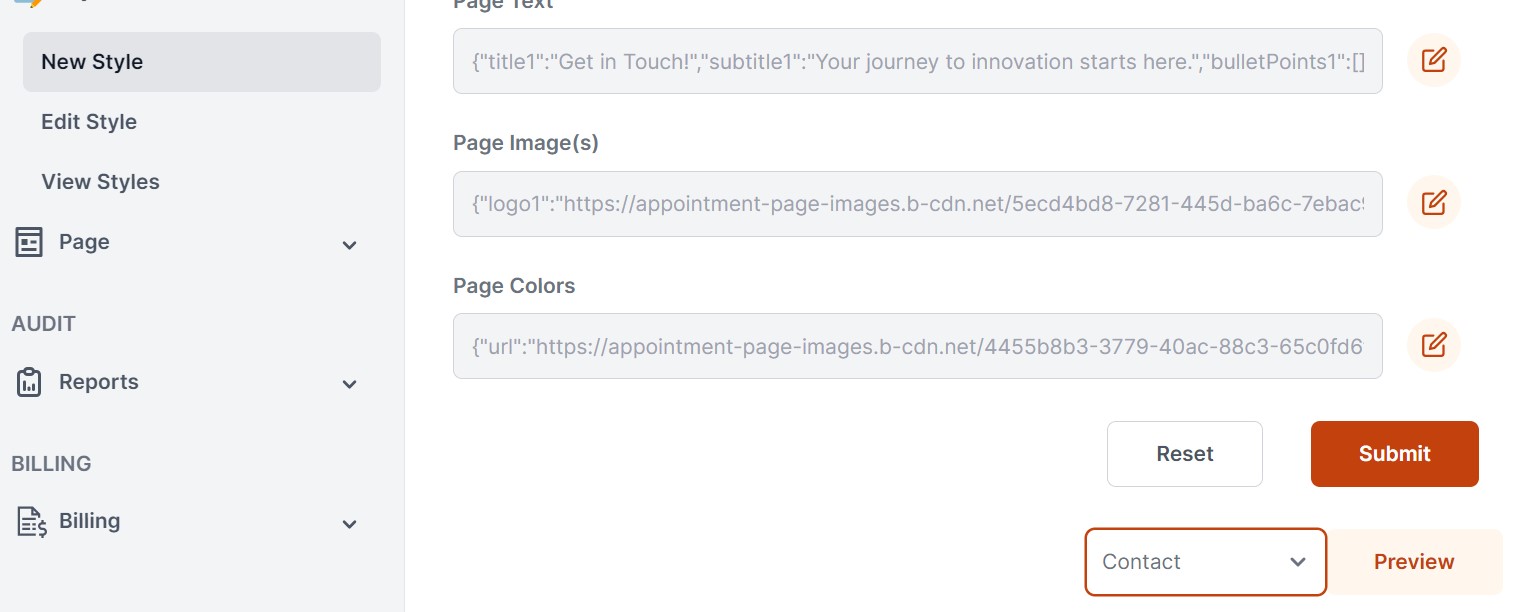
Step 7: Preview Your Form
Want to see how your new contact form will look? Simply select "Contact" and click the “Preview” button. Get a firsthand look at your customized form, and ensure everything is perfect. Just remember - don’t navigate away until you save your settings.
Step 8: Save Your Style
Once you're satisfied with the preview, it’s time to lock in your choices. Close the preview window and hit the “Submit” button. Voila! Your style configuration is saved and ready to impress.
Step 9: New Page
Now, let's create a new page. On the left-side menu, click on "APPOINTMENT PAGE" and then "Page." You should see "New Page"—go ahead and click that. You'll be prompted to choose configurations for "Connection" and "Style" from two dropdown menus. Go ahead and make your selections.
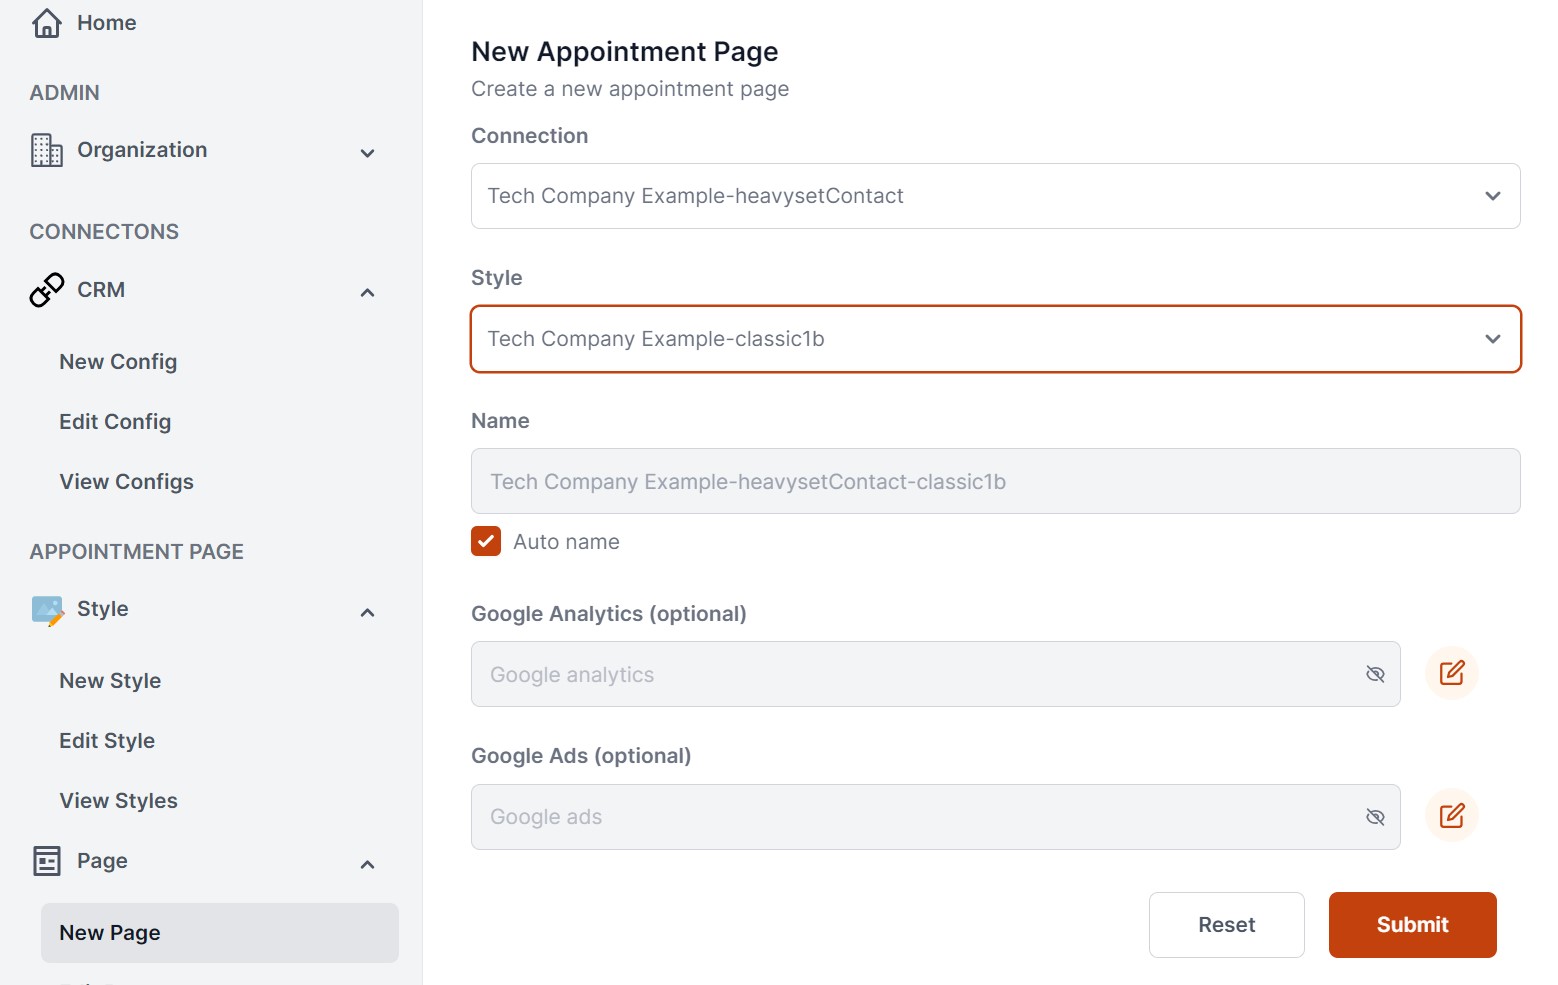
Once you’re happy with your choices, hit the "Submit" button. Your selections are saved, and you’re all set to move to the next step!
Step 10: Access Tokens
Head over to the last section on the admin website by clicking "Access Tokens," found under the "APPOINTMENT PAGE" section in the left-side menu. Once there, pick the page you just created from the dropdown list labeled "Appointment Page." Now, it's time to tell us where you’ll be using this contact form. In the "Origin Domain" field, type in the main part of your website's address—no need for "www" or anything after the ".com." So, if your website is "www.example.com" or "blog.example.com," just type in "example.com."
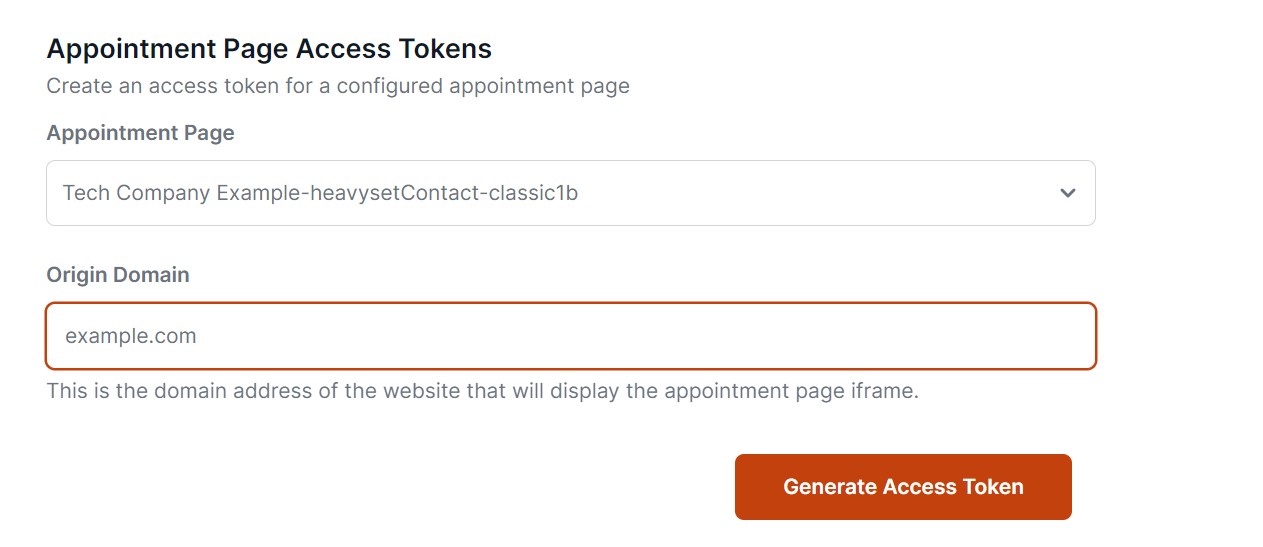
Now, hit the "Generate Access Token" button. Like magic, a chunk of HTML code will appear right below. Copy this code, and paste it into the HTML of your website where you want the contact form to appear.

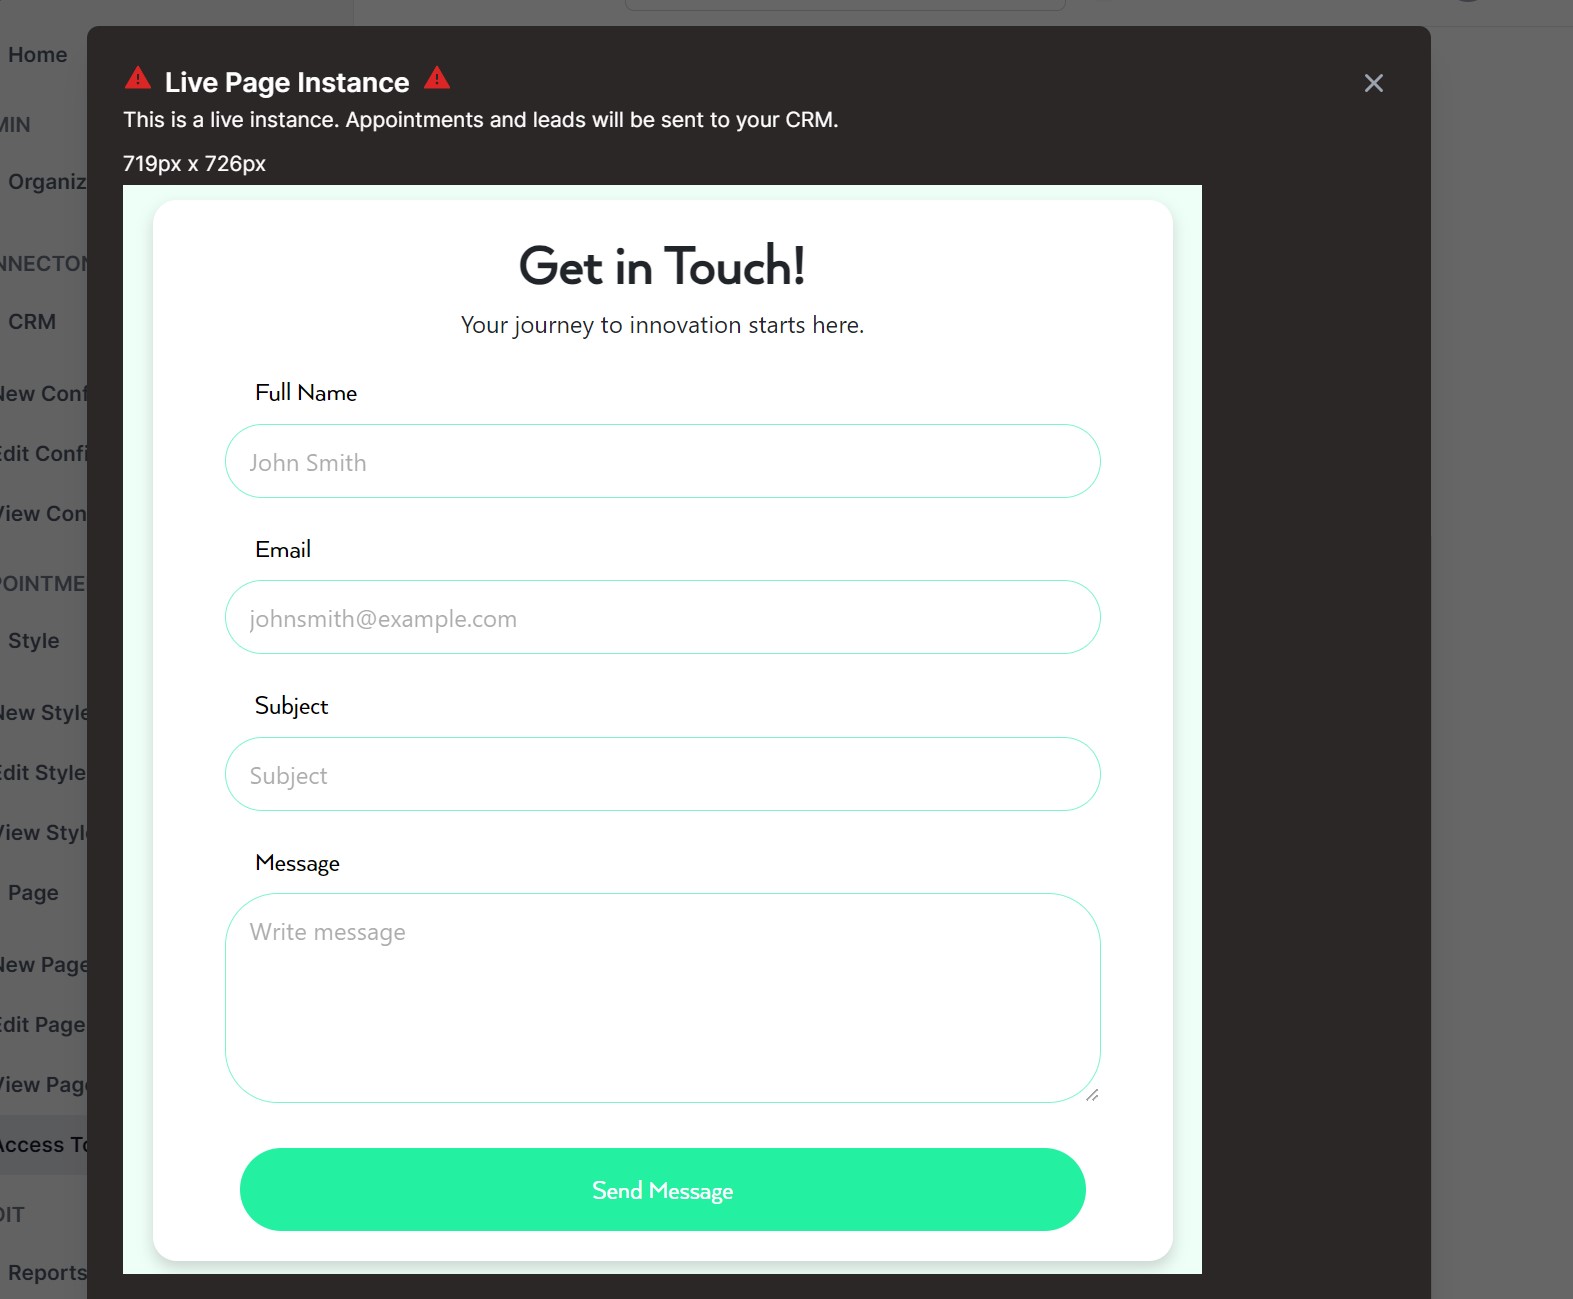
Want a sneak peek of how the contact form will look live on your site? Easy! Just click the "Display Live Page!" button .
.
Step 11: Adjustments
Need to modify your page? Rest assured, you can easily make adjustments either before or after it's live. Simply navigate to the "Edit Config", "Edit Style", or "Edit Page" options to implement any necessary changes.
Step 12: Audit Table
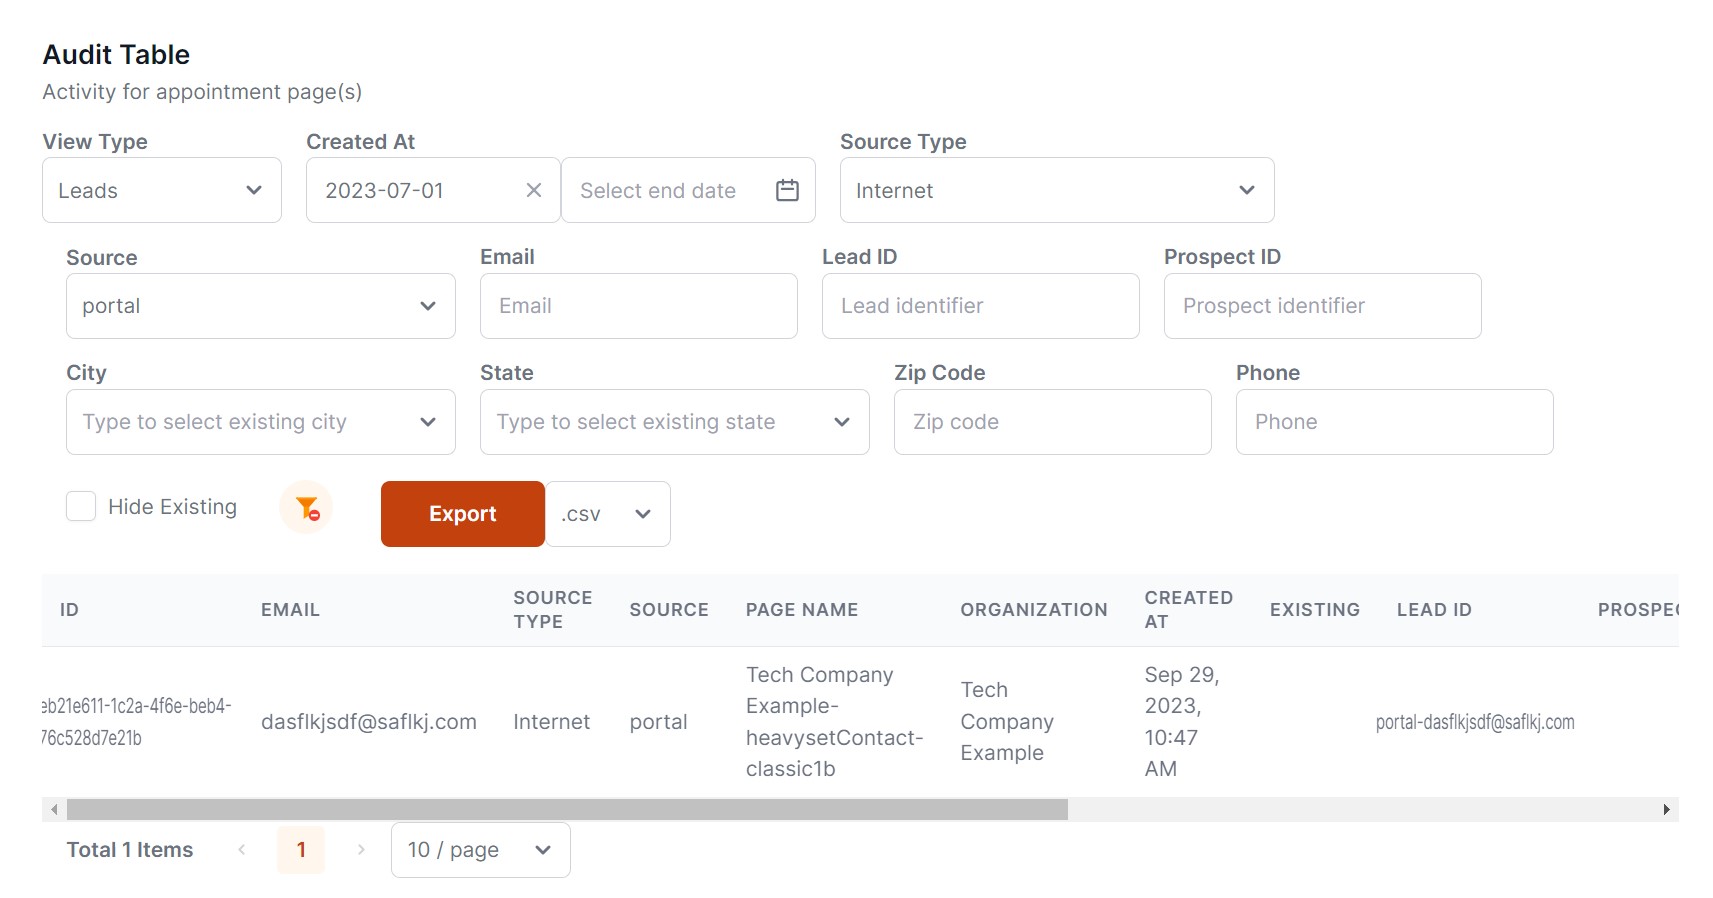
View, export, and search received messages using the Audit Table under "AUDIT" -> "Reports".
Conclusion
Congratulations! You’ve now set up a fully functional contact form using HeavySet Tech in under 30 minutes. Every message submitted through this form will be tracked, recorded, and reported, ensuring you never miss an opportunity to connect with your website visitors. Adjust and customize as needed to fit your brand’s aesthetic and functional requirements.