Introduction
This guide outlines the steps to configure your custom AI agent and create a conversation template in the UI using HeavySet Tech. Follow this guide to have an AI agent enabled to confirm appointments via SMS.
Note: You may send HeavySet Tech a call center script, and as part of our onboarding process, we will set up the agent for you. However, you will have the ability to view, clone, or edit the scripts and agent later.
Step 1: Configure SMS and Select an AI Agent
If you haven't configured your SMS and created an AI agent, please consult Steps 1 and 2 in the AI Agent and Scheduling Guide.
If you have completed the above, please move to the next step.
Step 2: Create a Scheduling Question Template
Under the "Marketing" menu, open up the "AI Agent" menu, and click "Question Template." Here, you can create a template for your agent to use. Add a name, the time delay between sending retry messages, and either a question or task prompt that will allow the AI agent to guide the SMS conversation of confirming appointments.
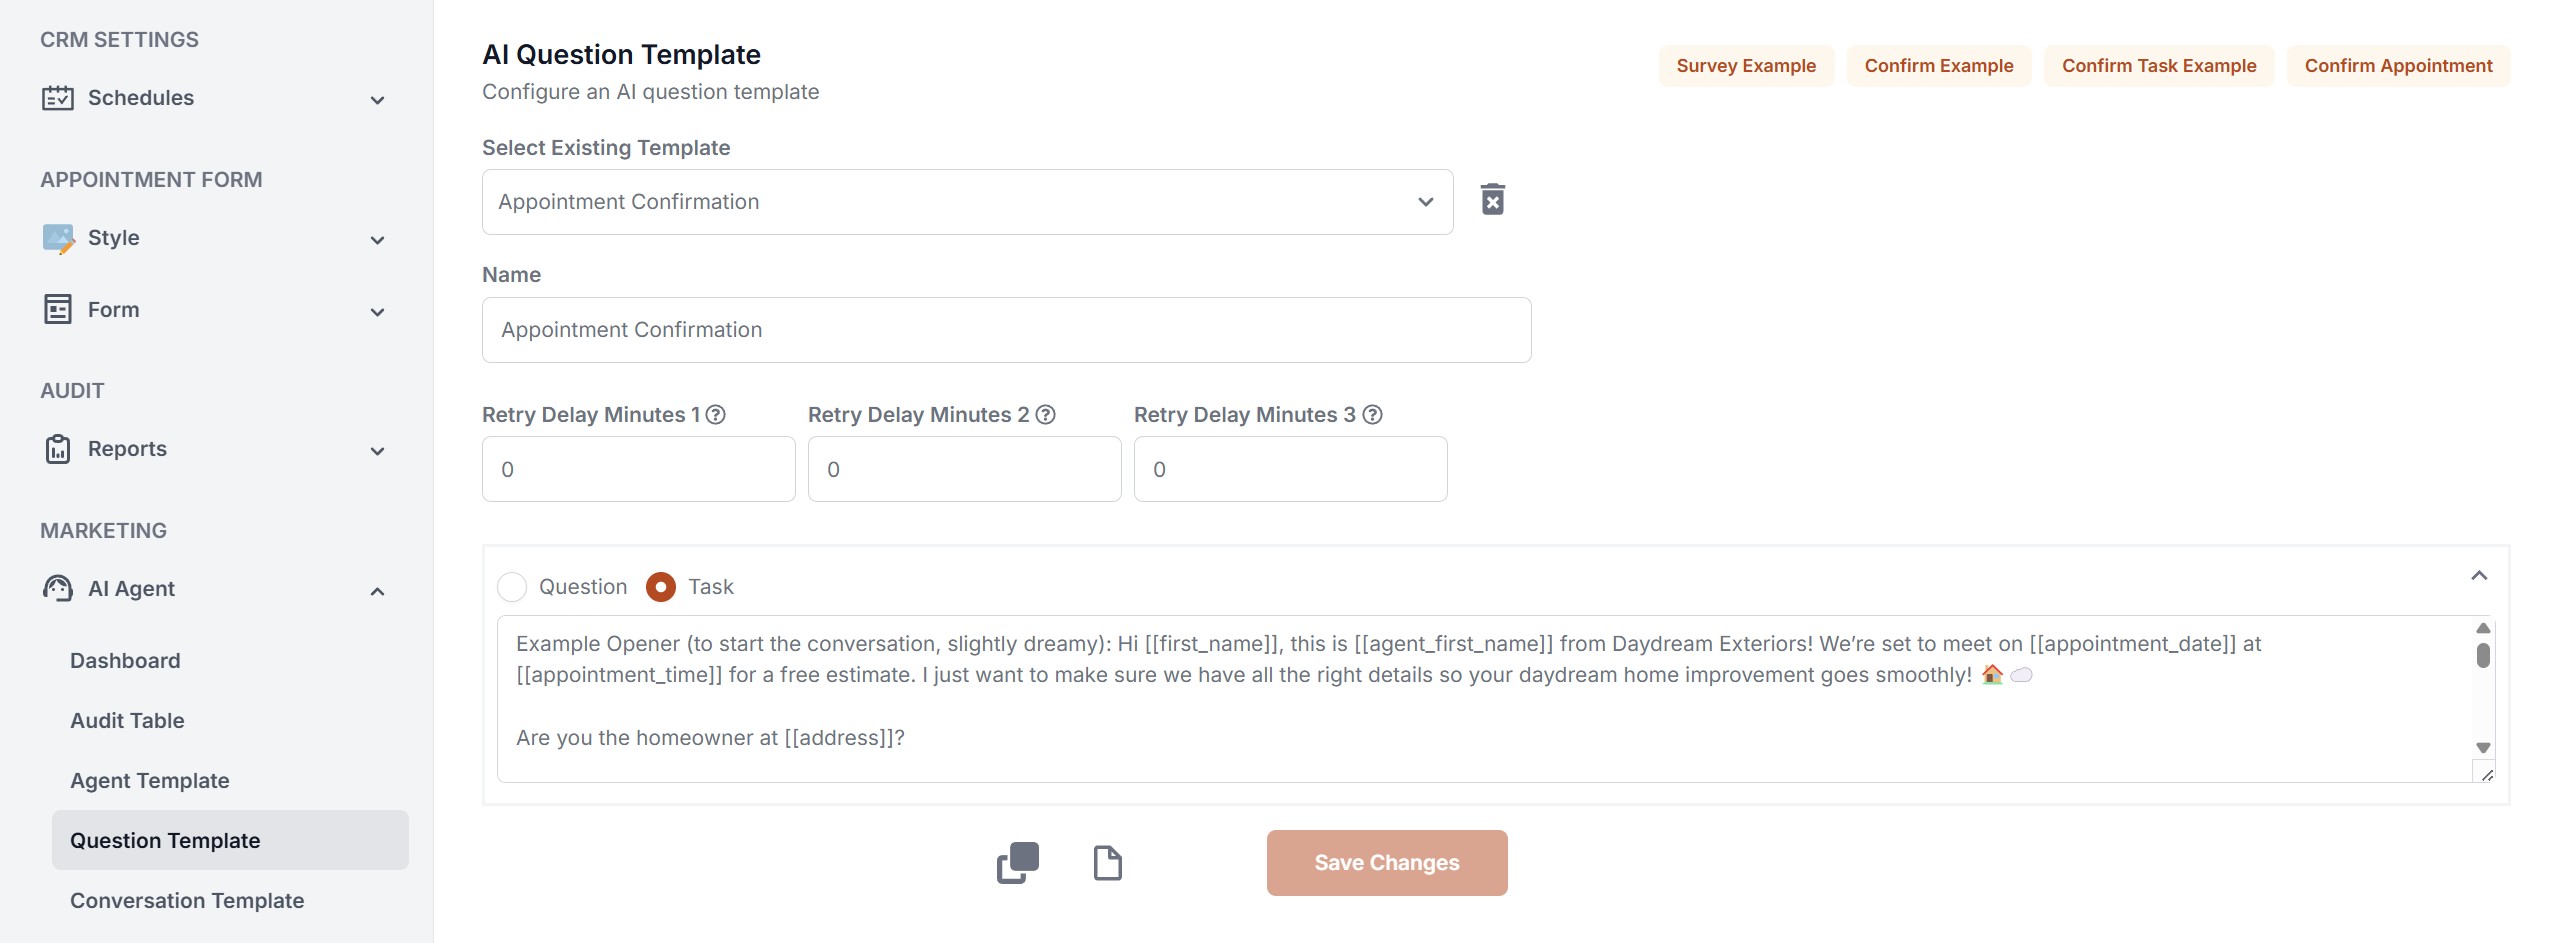
If you would like to see examples of how to create either a question or task prompt, click any of the example buttons in the top right corner.

Again, the HeavySet Tech team can configure this page to get you started, but it will be available for you to view and edit.
Press "Create New" to save the template.
Step 3: Configure an AI Conversation Template
Navigate to "Conversation Template" under "Question Template." Add a name, and optionally add any products or sources to exclude. Choose the contact details you would like to include; you may edit or delete an existing contact or add a new contact. Finally, select which AI agent and confirmation template this conversation should use, and add a media file to include in the message.
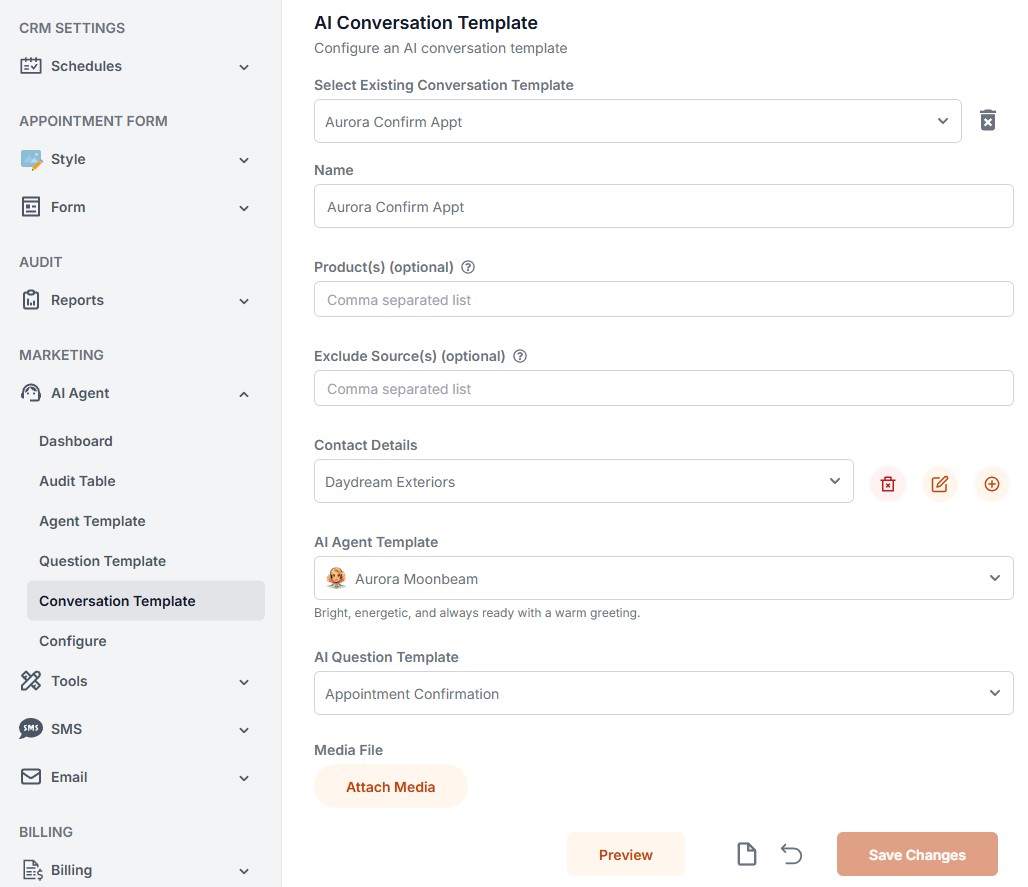
If you would like to preview how a conversation with your AI agent would flow, press "Preview."
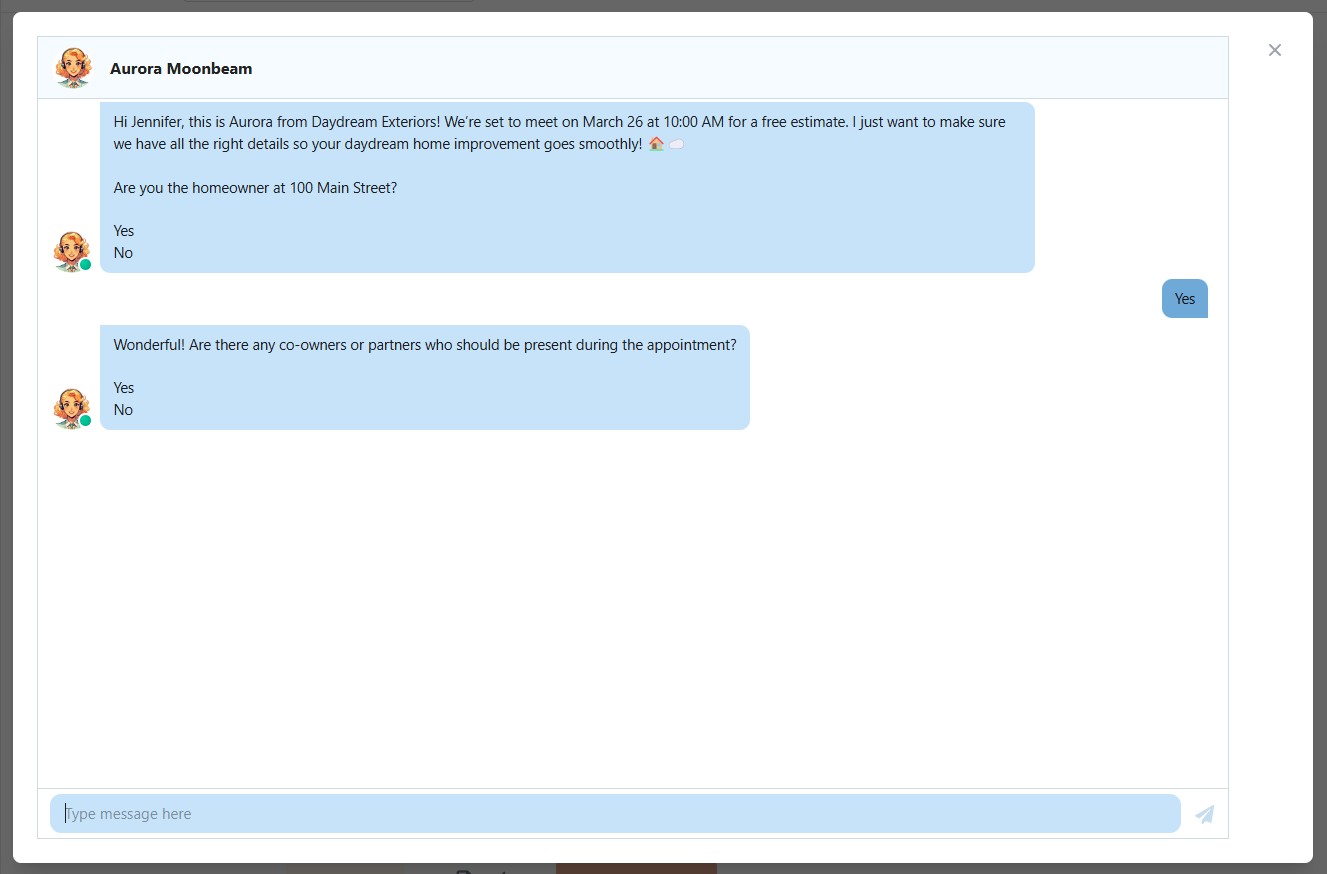
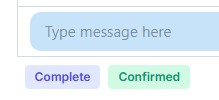
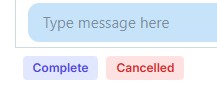
Below the textbox once the conversation has finished, you can see different labels explaining the outcome of the conversation.
If an appointment was confirmed, you will see "Complete" and "Confirmed."
If an appointment was cancelled, you will see "Complete" and "Cancelled."
You can adjust the AI agent or question template as needed.
Click "Save Changes" once you are satisfied with the results.
Optional: If you have an existing conversation template, you may edit any part of the template or delete it entirely by using the "Select Existing Conversation Template" dropdown and picking one.
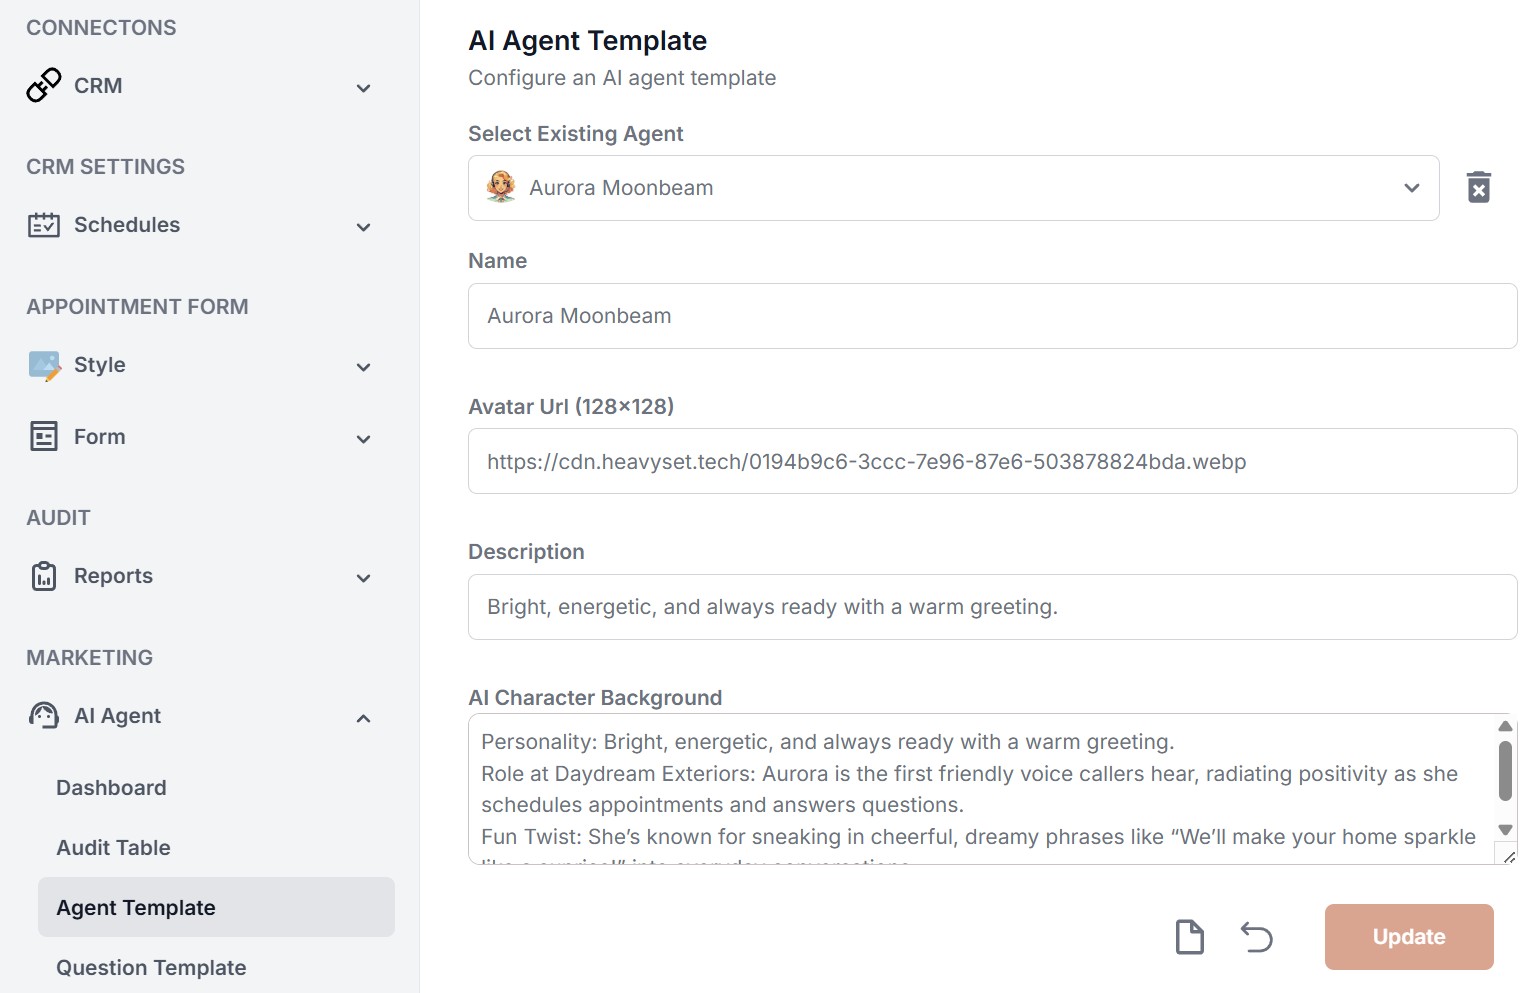
Step 4: AI Agent Configuration
Underneath "Conversation Template," you will find "Configure." The CRM Config will be auto-selected. Add an API token if you would like your AI agent to be able to schedule an appointment. If you would like to receive notifications about completed conversations, enter any Email addresses to be notified.
"New Appointment SMS Conversation" is for the AI to confirm appointments over SMS. Select the conversation template you would like to use, and choose how many minutes the AI should wait before beginning a conversation and how many hours before the appointment the AI should begin the conversation.

Press "Submit" to finalize the scheduling AI and get it up and running.
Now, your AI agent will be able to confirm an appointment over SMS.
Step 5: Navigate the AI Audit Table
Click "Audit Table" under the "AI Agent" menu to see a table history of all AI conversations. You may search by a phone number or filter based on completion, confirmed, or cancellation statuses or if there has been a response.
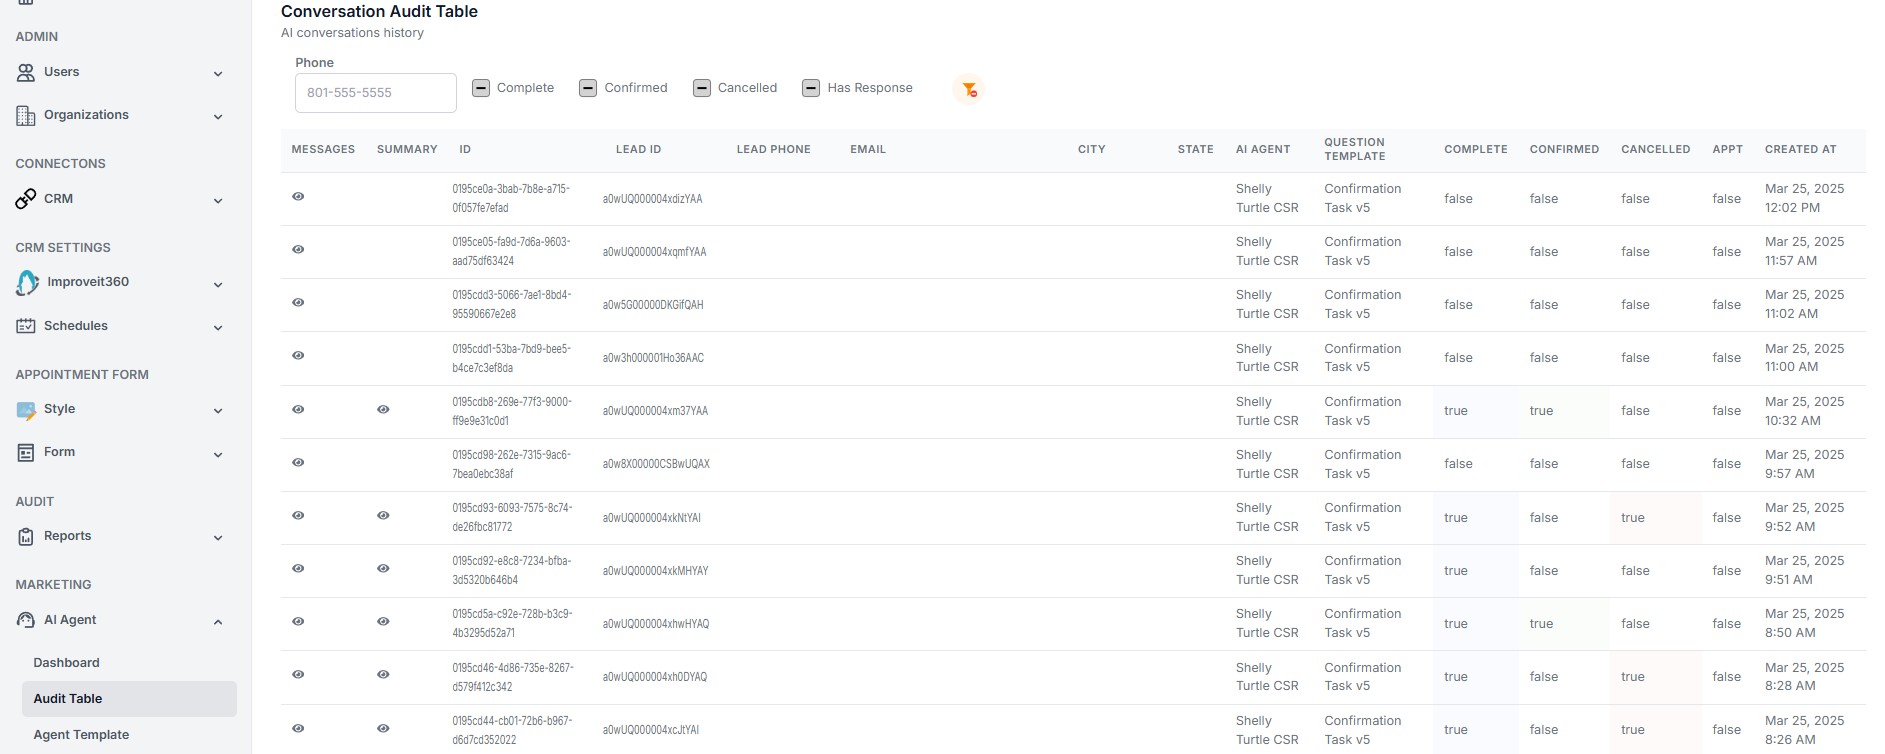
The table lists a lead's information, and what AI agent and question template was used for the conversation.
The "Messages"  button will show the conversation between your AI agent and a lead. It will look like the Preview option in Step 4.
The "Summary" button will show you the lead information, a transcript of the conversation, and a summary of the conversation. If you entered Emails to receive notifications (see Step 4), it will also display the Email that was sent out once the conversation was completed.
Conclusion
You've successfully navigated through the essential steps to configure your AI agent and create a confirmation template using the HeavySet Tech platform. Confirming appointments can now be quicker and easier.