Introduction
This guide outlines the steps to configure and embed your custom UI component using HeavySet Tech. Follow this guide to move from signing up to embedding your personalized lead acquisition UI component onto your website.
If you are already using one of our supported CRMs (AccuLynx, Builder Prime, improveit 360, improveit 360 Lightning, JobNimbus, LeadPerfection, ServiceTitan, LeapCRM or MarketSharp), you do not need to coordinate with us before signing up. Follow this guide to sign up whenever you like, and we'll email you a link to begin onboarding once your signup process is complete.
For CRMs not supported, please contact us first.
Step 1: User Registration
Go to the HeavySet Tech Sign-Up page. Enter your first and last name, phone number, and Email address. Input your company name or, if you're an individual, use your name or a preferred identifier. Select which CRM you will be using.
Click the "Next" button.
Step 2: Payment and Password
Enter your credit card information, and create and confirm a password. Read through the Software License Agreement if you haven't already.
Click the "Accept & Sign Up" button.
Step 3: Get Started
With your signup complete, the HeavySet Tech team will reach out to you via Email to schedule a kick-off meeting.
If you would like to sign in right away, click the link to enter the information you provided.

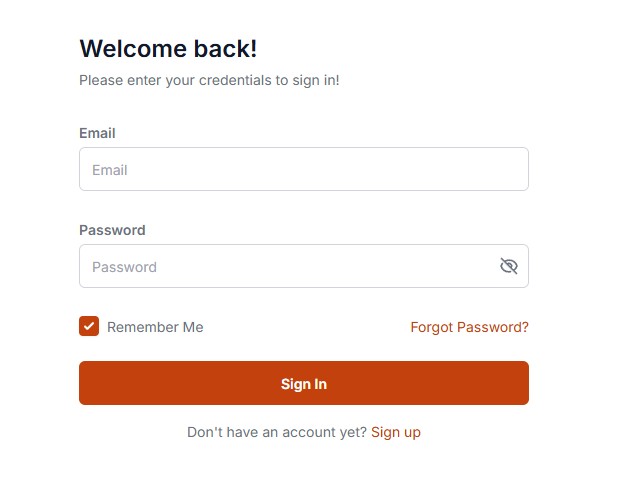
Step 4: Sign In
Sign in using your previously entered information.
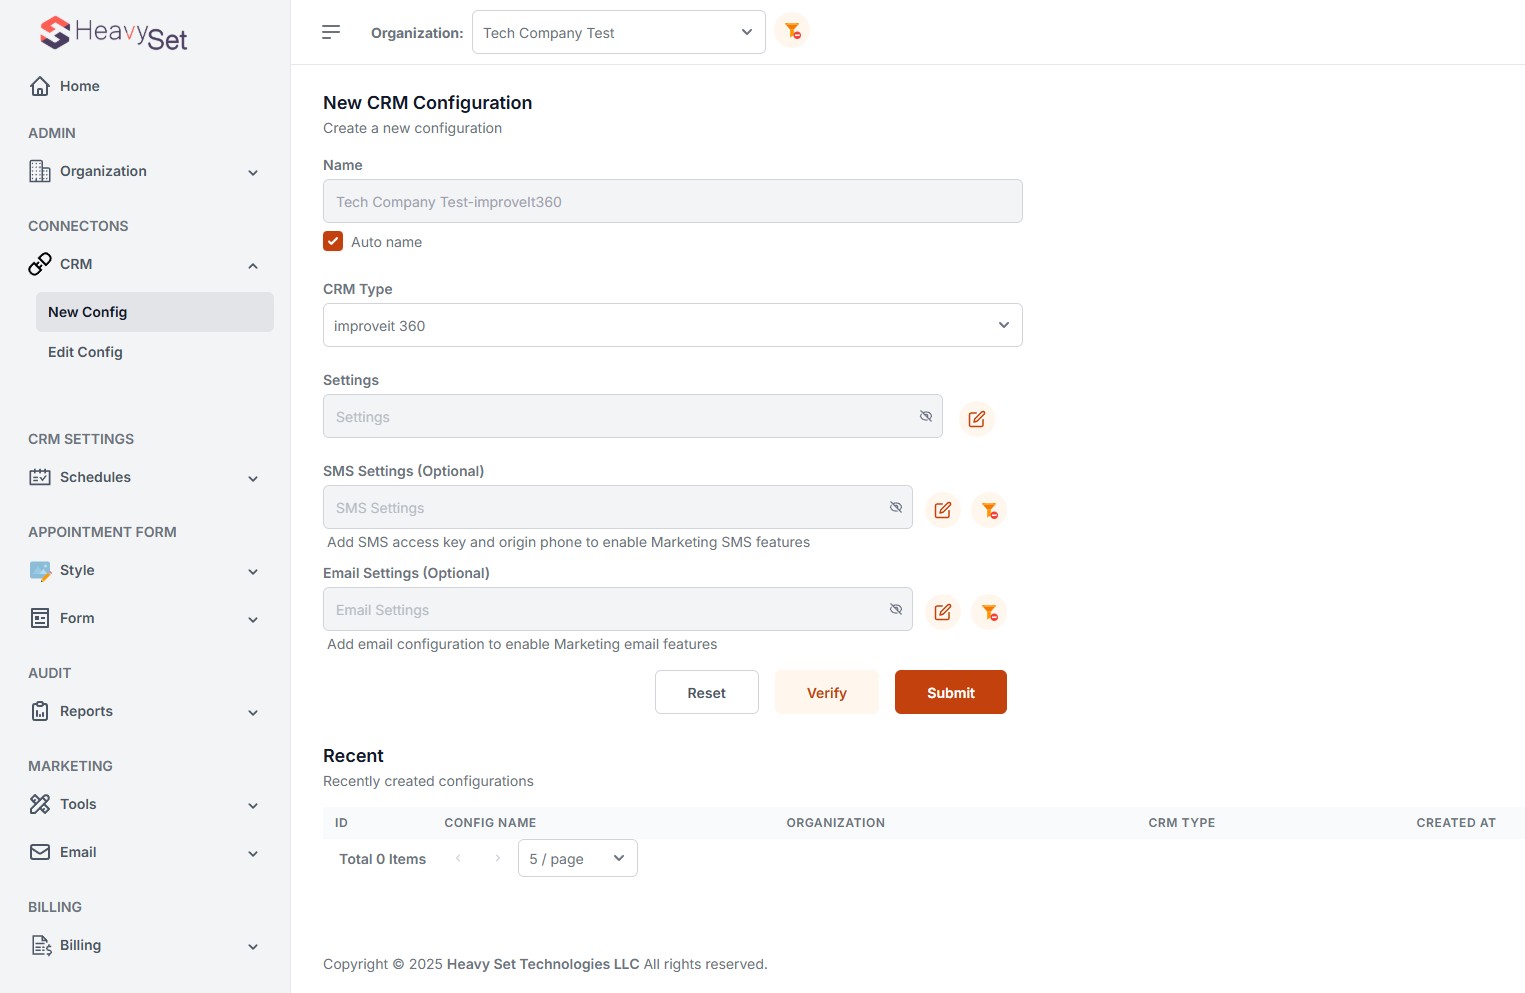
Step 5: Connection Configuration
Navigate to "New Config" under the "Connections" menu on the left. Choose a "CRM Type," and update the Settings according to your preferences. Click "Verify" to check for errors, then "Submit" to save your configuration.
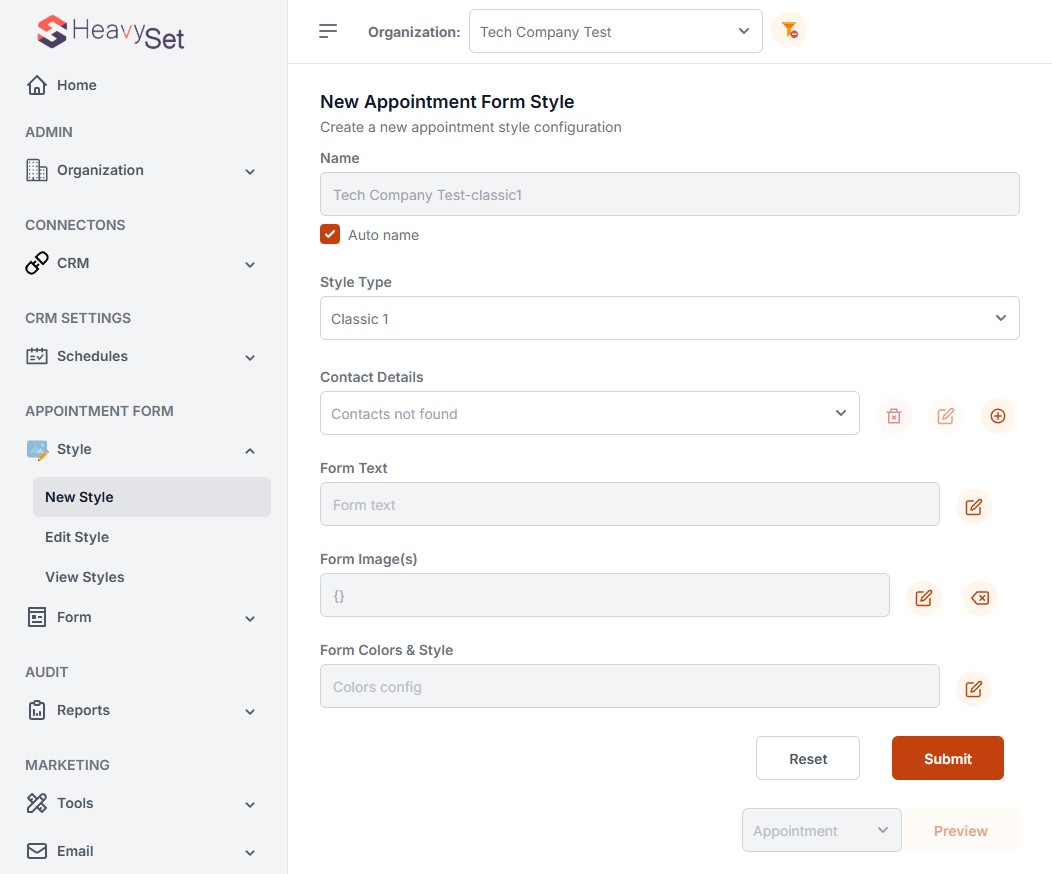
Step 6: Styling Your UI Component
Select "New Style" under the "Appointment Form" -> "Style" menu. This section allows you to customize contact details, text, images, and colors for your UI component. After making your selections, click "Preview" to view your design and "Submit" to save.
Step 7: Configuring a Form
Go to "New Form" under the "Form" menu. Select your Connection and Style, then click "Submit."
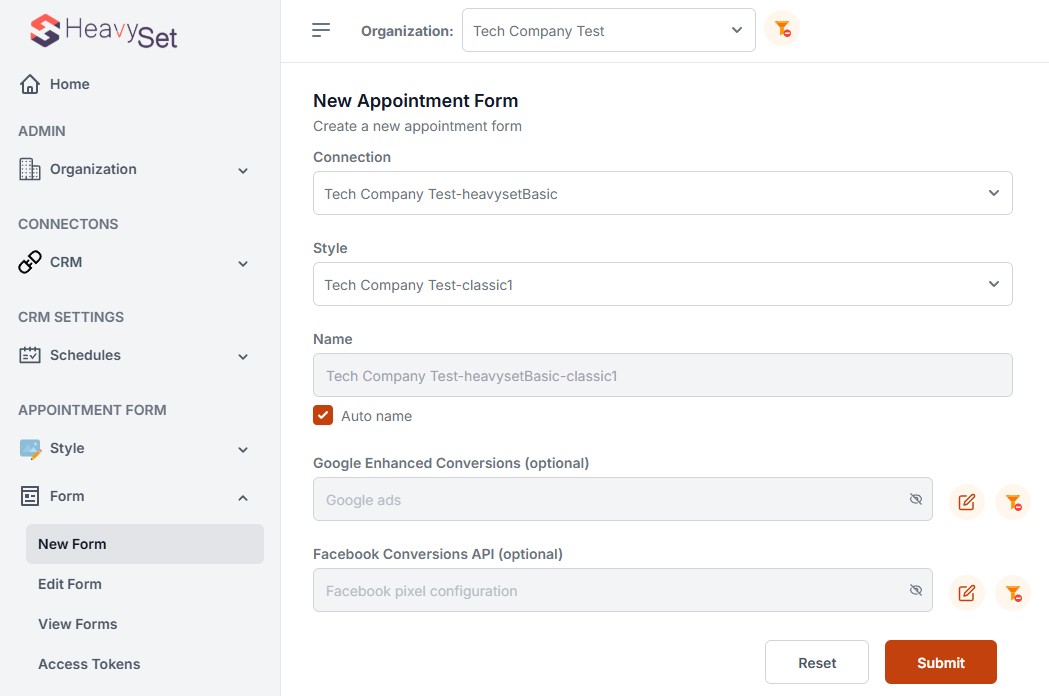
Optional: Configure Google Enhanced Conversions and/or Facebook Conversions. For enhanced conversions for Google, see this tutorial: Guide on Google Enhanced Conversions. For Facebook Conversions, see this tutorial: Guide on Facebook Conversions. Otherwise, simply select your Connection and Style, then click "Submit.".
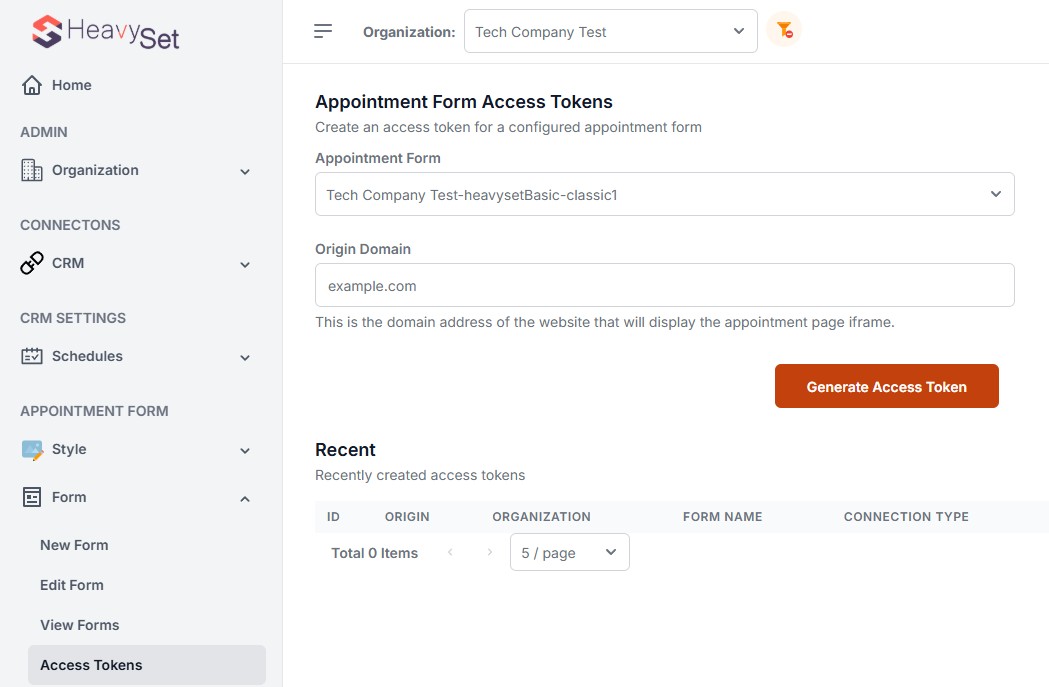
Step 8: Access Tokens and Embedding Your UI Component
In the final step, navigate to the "Access Tokens" section. To generate the HTML code for embedding the UI component on your website, enter your domain (e.g., example.com for https://www.example.com or https://blogs.example.com) in the "Origin Domain" box, and click "Generate Access Token."
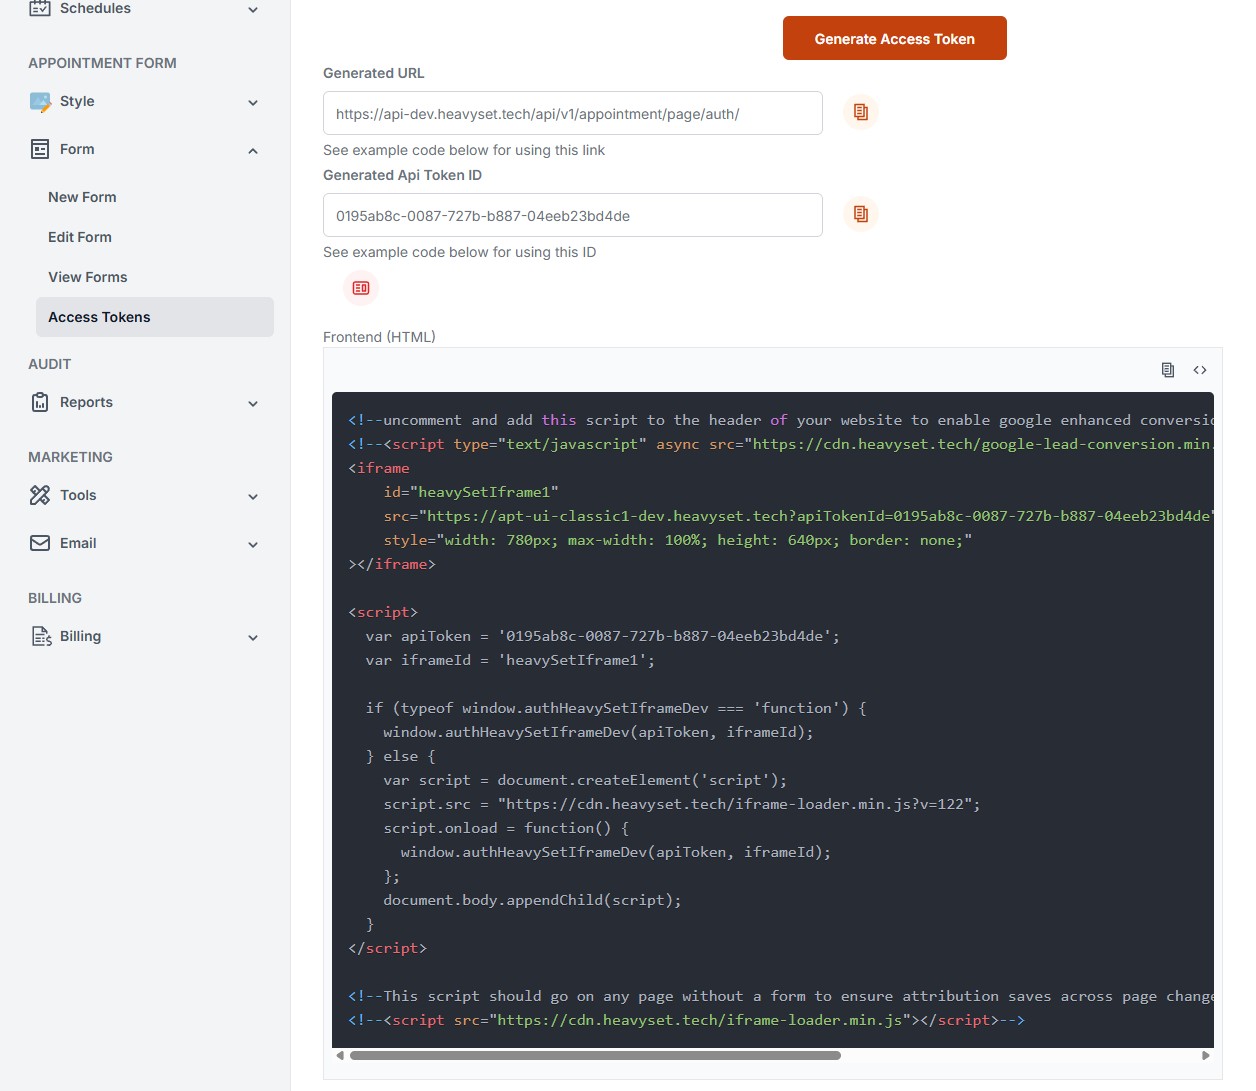
Below the button, you'll find the HTML code snippet that you can copy and paste onto your website to display the customized UI component.
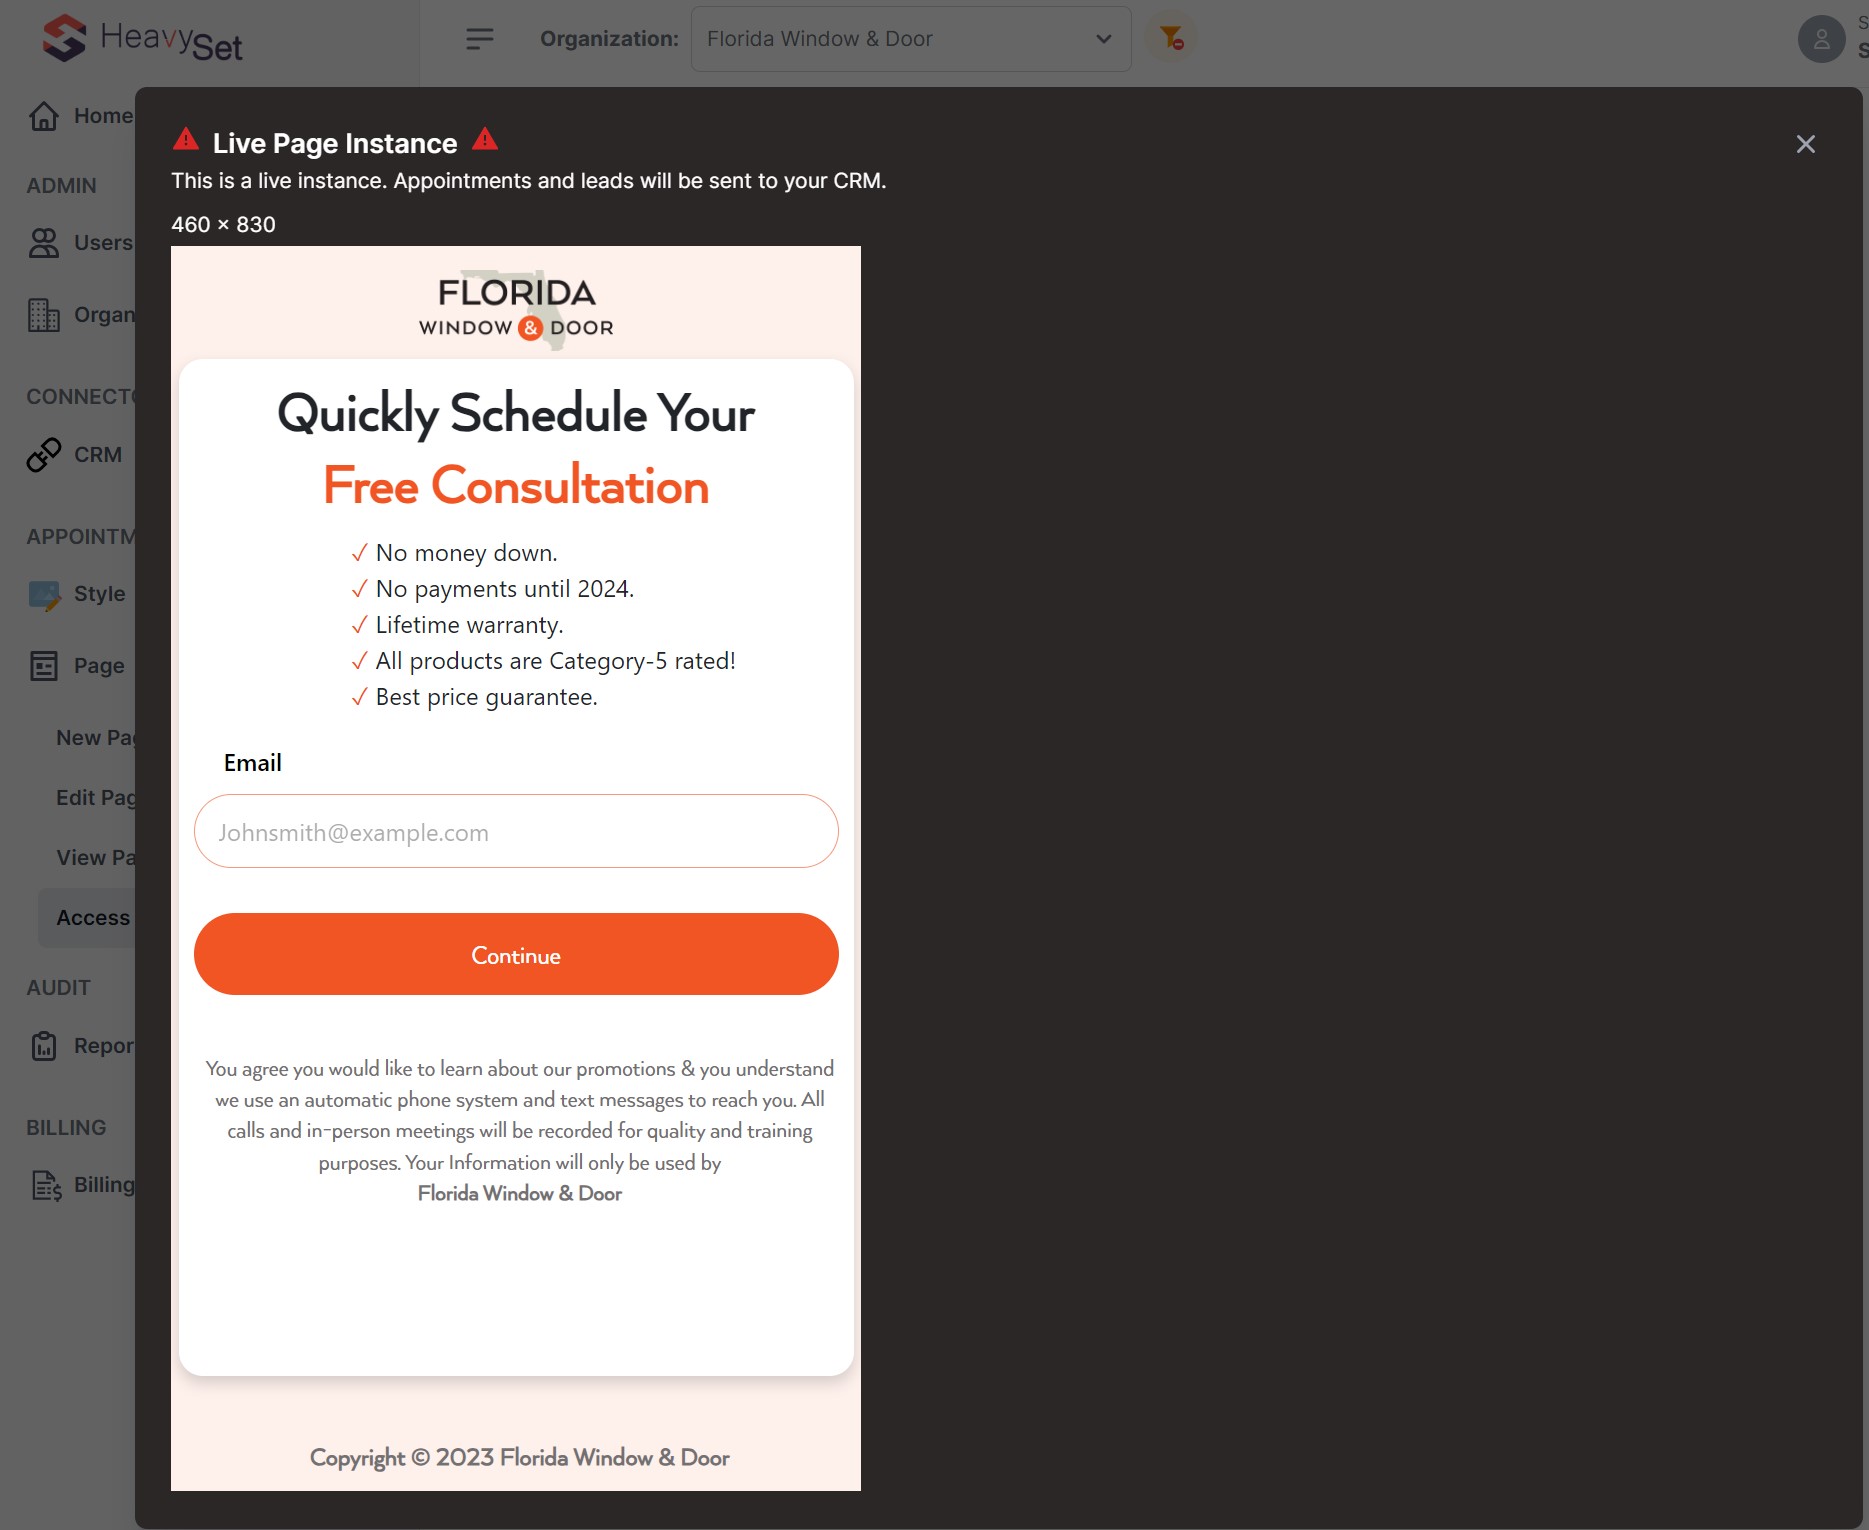
Click the "Display live page!"  button to preview the live version of your configured component .
Conclusion
You've successfully navigated through the essential steps to configure and embed your personalized lead acquisition UI component using the HeavySet Tech platform. With this tailored approach, capturing leads and scheduling appointments becomes a seamless integration into your website, enhancing user engagement and operational workflow.
For more advanced options, consult the HeavySet Tech Rest API Guide.